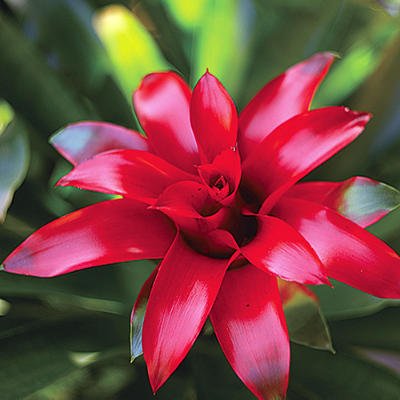
How to Care for Your New Bromeliad
Bromeliads are excellent indoor plants, since they require such little maintenance. With proper watering and some filtered light, you should be able to enjoy your flowering bromeliad for many weeks. Bromeliads have a "cup" in the center of the plant. In nature, the plant holds its water in this cup to maintain enough moisture until the next rainfall. However, in homes it is not necessary to keep the cup filled with water. At Tropical Essence we recommend that you water your bromeliad at the base of the plant, so it can absorb the needed moisture and nutrients through its root system. Keeping the cup filled with water in areas without proper air circulation (which is the case in most homes and offices) encourages bacteria and fungus problems.
Bromeliads should be watered thoroughly until the water runs completely through the pot. They should not be watered again until the potting mixture feels dry. Under normal household conditions, bromeliads should be watered once every seven to fourteen days. If excess water is left standing in the plant’s cup after watering, just tip the plant at an angle and allow the water to drain out of the cup. Make sure that your bromeliad is never left in standing water for long periods of time. A general-purpose fertilizer should be applied to the potting mixture at ¼ to ½ of the recommended dosage every 1 to 2 months. It is best not to add fertilizer in the cup since this could lead to an accumulation of fertilizer salts that may burn the new foliage. Place your bromeliad near a window or on a patio where it will receive filtered light; make sure not to expose your plant to direct sunlight.
Bromeliads are monocarpic plants, which simply means that the plant will slowly die after flowering. However, you will notice while your plant is flowering that it will start to produce “pups” at the base of the plant. These pups are the plants that will bloom for you in the future. Once the pups reach one-third the size of the original plant, separate the new pups from the mother and plant them in a new pot with a porous, organic mixture, which permits quick water drainage.
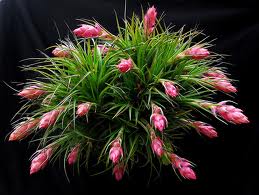
How to Care for Tillandsias (also known as Air Plants)
Tillandsias make wonderful house plants, since they are quite hardy and require very little attention. Watering is the most important element for success with Tillandsias. Even though their common name is Air Plant, they require regular waterings and cannot live on air alone.
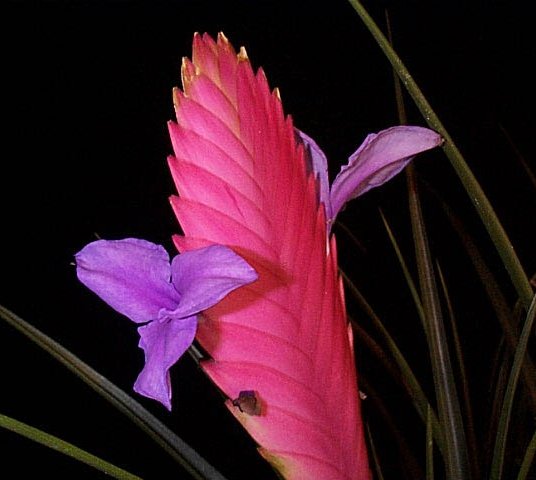
It is best to water you Tillandsias in the morning and give them time to dry before nightfall. Your plants need to be watered two to three times a week to the point of runoff, which should only take a few seconds. You are trying to simulate a rain shower, and the easiest way to achieve this is by completely wetting your plants with a faucet or garden hose; spray misting on the other hand is an insufficient way of watering. After watering your plants, turn the Tillandsias upside down and gently shake them so there is no water left standing at the base of the plants. Tillandsias cannot survive in standing water, nor can they be constantly wet or moist. To sum this up your plant wants water, but it also needs to dry out completely before watering again.
Place your Tiallandsias in bright filtered light such as a window or patio. A good rule of thumb is the higher the humidity, the more light Tillandsias can tolerate. Their optimal temperature range is 50-90 degrees, but they can tolerate temperatures above 100 degrees. Do not expose them to freezing temperatures.
Fertilizing Tillandsias is not really necessary, but it will result in faster growth, better flowers, and more pups. When fertilizing your plants use a water-soluble fertilizer at 1/4 its recommended strength once a month.
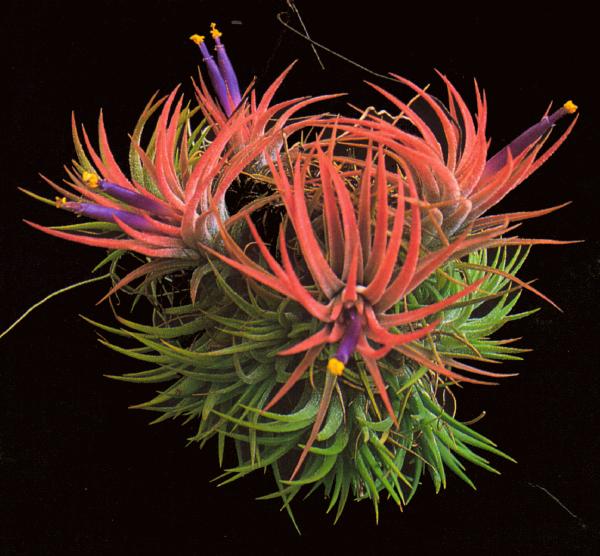
Tillandsias are monocarpic plants, which simply means that the plant will slowly die after flowering. However, you will notice while it is flowering, it will start to produce "pups" at the base of the plant. Most plants will produce between two and eight pups. These pups are the plants that will blooom for you in the future.